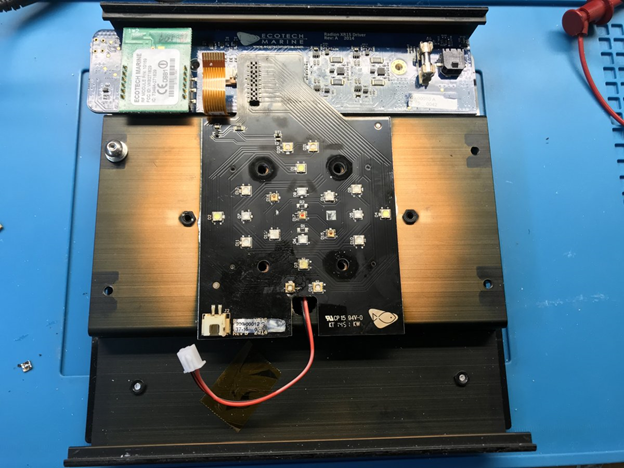
Recently, I got a hold of a used Radion XR15 Pro Gen3 which does not work. It powers up and starts blinking the LEDs, but never gets them to a solid ON state. It is time to take it apart and look inside! XR15 contains only one LED puck that is attached to the aluminum body of the light with a fan at the top. Positioning the fan at the top with all of the electronic components are underneath resulted in some design challenges that eventually contributed to this failure. So let us take a close look!
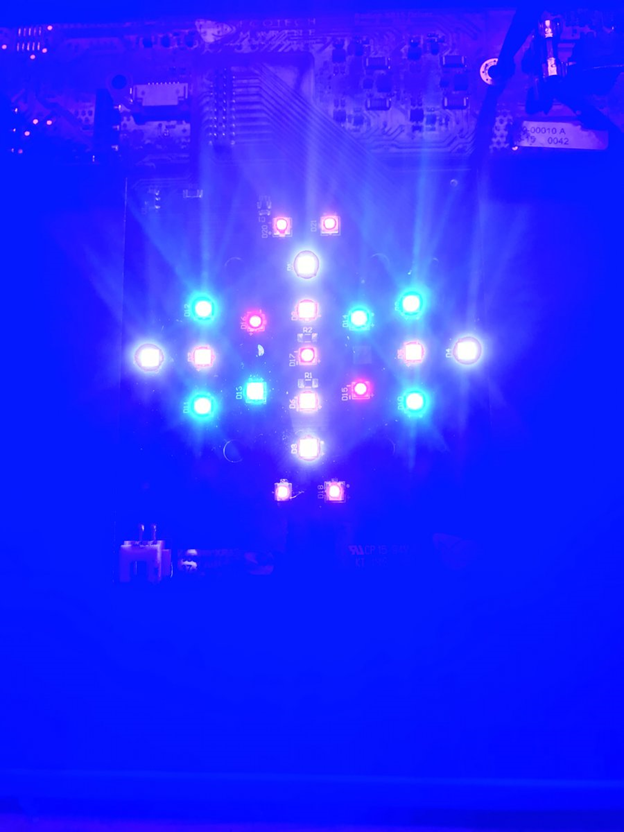
The main board appears to be functioning fine at all test points. There are no shorts and all voltages seem to check out. So why would all the lights blink constantly? Well, it turns out that not all of them actually blink. The four LEDs at the perimeter closest to the edge are always off. This is odd… Looking closer at those LEDs revealed the first clue: corrosion. Time to desolder the LED in question.
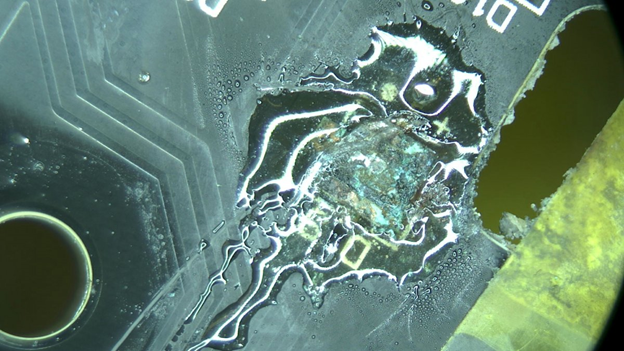
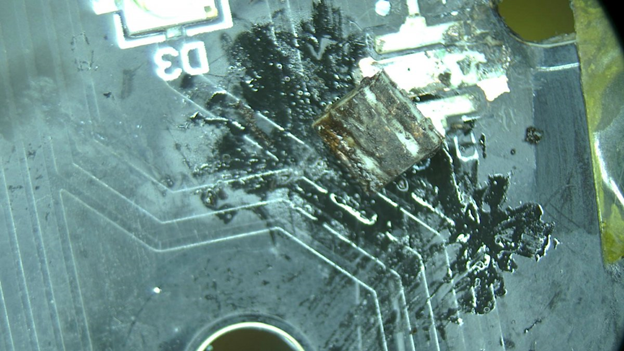
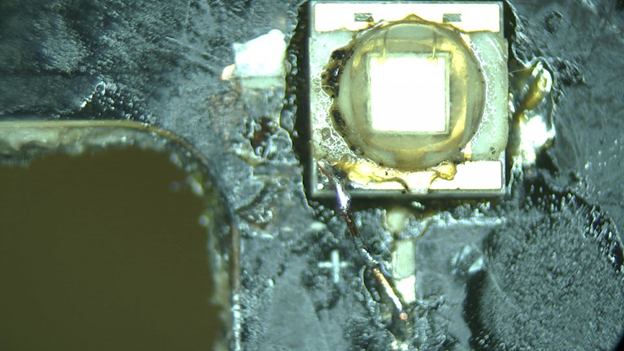
What you see above is the LED completely removed. The liquid in place is just some soldering flux used and through this flux, you can see that the entire LED pad is covered with a thick layer of corrosion.
But where did the corrosion come from?
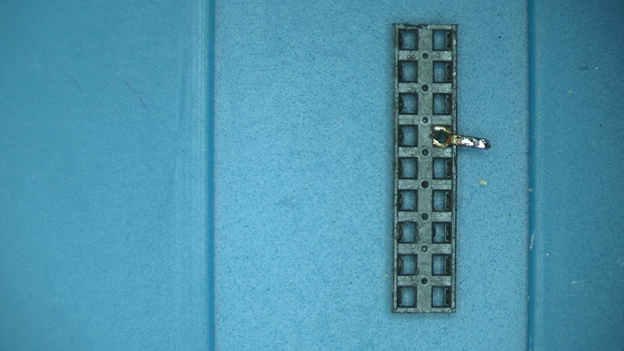
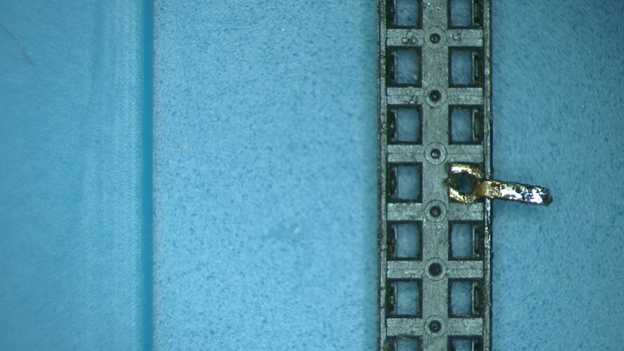
Ecotech has to power the fan somehow. To do so in XR15, they decided to add the fan power connector to the LED puck. The fan wiring needs to go through the aluminum body to connect to the puck. There is a fairly large hole in the aluminum body to run the wiring (which is likely due to the size of the male connector) and a corresponding hole in the puck itself. You can see that the hole was partially covered with a small piece of capton tape. When the fan spins, it constantly pumps air through this small hole and the tape eventually becomes unglued making the air rich with salt crystals that makes its way onto the LED puck. The corroded LED is right at the edge of the pole in question.
Now that we know what the problem is, then it is time to fix it!
The corrosion did not just disconnect the LED from the board. Tt was bad enough to partially destroy the copper pad as can be seen here after most of the corrosion was removed.
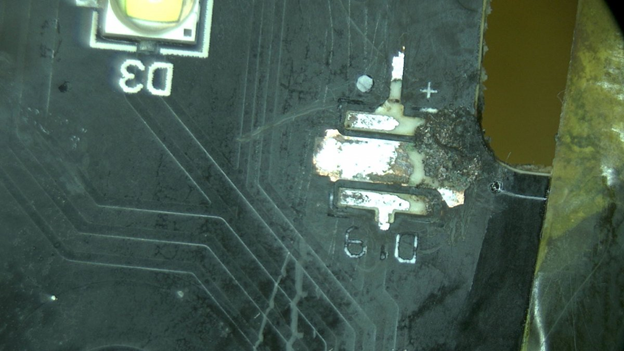
An additional challenge was that the positive lead is completely disconnected from the pad on the PCB.
The LED itself was not in much better shape. The bottom pads were also partially corroded. It is not worth saving the LED itself.
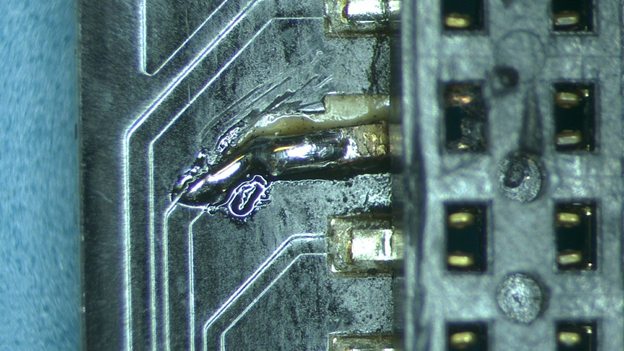
The pads have been cleaned up and tinned with nice clean new solder and are ready to accept a new LED. However, the positive lead is still damaged preventing any voltage from getting to the new LED. Luckily, we can run a jumper wire right to the LED.
And with that, the XR15 is happy again!
The wiring hole will be properly sealed to prevent future salt creep making its way to that side of the board.
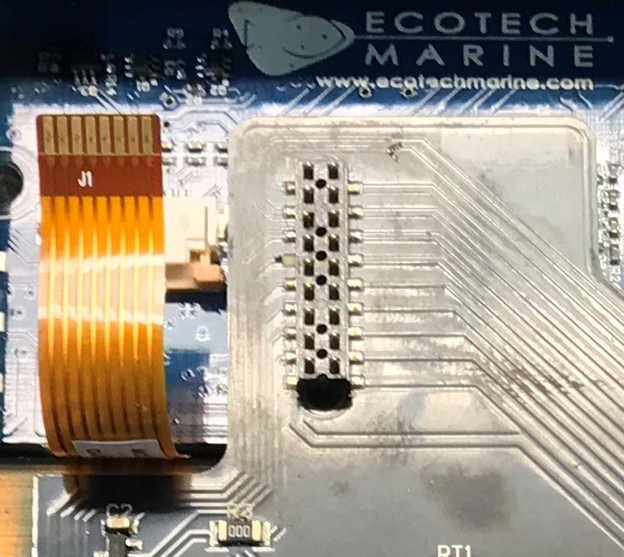
While assembling the light, I have noticed that a pin is missing from the puck connector to the main board. What the heck? It looks like this light has prior repair damage! The missing pin provides power to the fan. Not good!
Also, the pad on the board got ripped away with the pin.
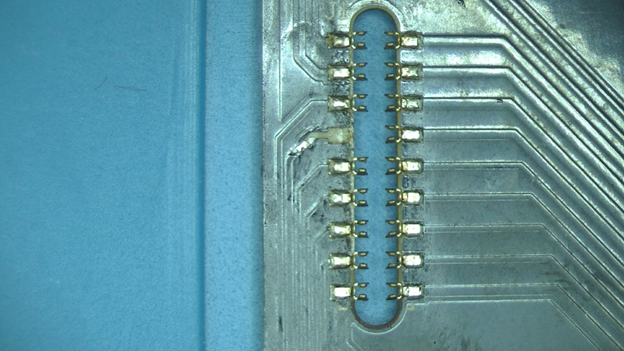
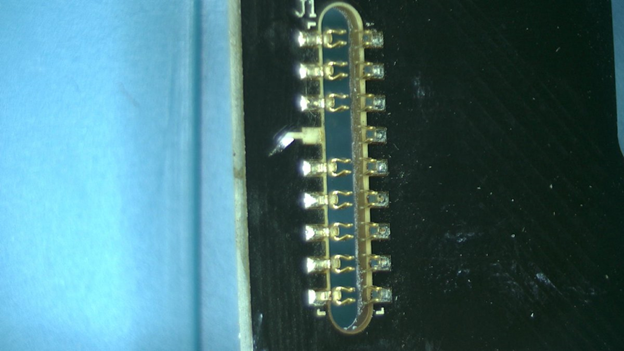
Normally in this case, I would just replace the entire connector, but this time I did not have any on hand and needed to improvise. A similar pin from another type of connector was cut to size and inserted into the plastic housing.
Since the original pad is gone, I cut the connector extra long so as to avoid using a jumper wire to connect it to the trace.
This way I have a nice, simple and strong solder bridge. Final assembly and testing for continuity. Everything checks out.
This poor light has been through a lot. Now, not only does it have a fully working LED puck but also a functioning fan.
We can make your Ecotech Radion work again. Head over to the Mail-In Repair section to find out how to send us your device for repair.